Get Crispy Fried Calamari in 30 Minutes: Your Easy Appetizer Recipe
Imagine the delicate crunch of a perfectly fried calamari ring, followed by the tender, slightly sweet bite of squid within. Now, imagine achieving that restaurant-quality experience in your own kitchen in just 30 minutes. Forget soggy, rubbery, or greasy attempts – this comprehensive guide will equip you with all the pro tips and secrets to master a truly exceptional
fried calamari recipe, making it your new go-to appetizer.
Fried calamari, or *calamari fritti* as it's known in Italy, is a beloved dish found across Mediterranean and Southern European coasts. From bustling Greek tavernas to quaint Spanish fish shops, this simple yet satisfying seafood appetizer is a staple. While it might seem intimidating to replicate at home, we're here to demystify the process and show you how easy it is to create light, golden brown calamari that's always tender and never tough.
What Exactly is Calamari, and Why is it Perfect for Frying?
Before we dive into the frying pan, let's clarify a common question: Is calamari squid or octopus? Calamari is actually the Italian word for squid, making it a close cousin to the octopus. While both are cephalopods, squid typically has a milder, slightly sweeter flavor and a firmer texture compared to octopus, which makes it incredibly versatile for cooking, especially frying.
There are hundreds of species of squid globally, but only a handful are commonly used in cuisine. You'll typically find squid readily available in most grocery stores, often at a surprisingly affordable price. While some fish counters might offer fresh squid, the freezer aisle is your best friend for this recipe. Frozen calamari tubes, which are often pre-cleaned, or pre-cut rings are incredibly convenient and work perfectly. Using pre-cleaned frozen squid saves significant prep time, helping us hit that 30-minute goal! The uniform size of pre-cut rings also ensures even cooking, contributing to that perfect tender-crisp balance.
The Golden Rules for Tender, Crispy Fried Calamari
Achieving the ideal fried calamari isn't just about throwing squid into hot oil. It's about a few key techniques that elevate your dish from good to unforgettable. These are the pillars of our
fried calamari recipe, ensuring a light, golden crust and supremely tender squid every single time. If you're looking to consistently make
restaurant-style crispy fried calamari at home, paying attention to these details is crucial.
1. The Secret to Tenderizing: The Milk Soak
This is perhaps the most critical tip for avoiding rubbery calamari. To ensure your squid rings are incredibly tender, soak them in a solution of salted milk. This simple step, requiring just 30 minutes in the refrigerator, works wonders:
* **Tenderizes:** The lactic acid in the milk helps to break down the squid's muscle fibers, ensuring a tender bite.
* **Tames "Fishy" Flavors:** Milk is excellent at neutralizing any lingering fishy odors, leaving you with a clean, mild flavor.
* **Helps Coating Adhere:** The milk creates a slightly sticky surface, allowing the flour mixture to cling beautifully, leading to a more consistent, crispy crust.
To do this, simply stir about 1 teaspoon of kosher salt into ½ cup of milk (whole or low-fat milk works fine). Add your calamari rings to this solution, ensuring they are submerged, and refrigerate for 30 minutes. If milk isn't an option, buttermilk or even lemon juice can offer similar tenderizing benefits. For a deeper dive into this game-changing technique, check out our guide on
Unlock Tender, Non-Rubbery Fried Calamari: The Milk Soak Secret.
2. The Perfect Crispy Coating Blend
A truly great fried calamari relies on a light, crunchy coating that doesn't overwhelm the delicate squid. Our superior coating isn't just flour; it's a strategic blend:
* **All-Purpose Flour:** Provides the base for the coating.
* **Cornstarch:** This is a secret weapon for extra crispiness. Cornstarch fries up lighter and crisper than flour alone, preventing a heavy, doughy texture.
* **Baking Powder:** A small amount of baking powder creates air pockets in the coating as it fries, resulting in an incredibly light, airy, and golden-brown exterior. It's the key to that delicate shatter!
Combine these ingredients with a touch of salt and pepper for seasoning, and you're well on your way to a perfectly crispy exterior.
3. The Right Cut for Optimal Texture
How you cut your calamari tubes impacts both cooking time and texture. We recommend cutting squid tubes into approximately 3/4-inch thick rings. Cutting them too thinly can lead to them overcooking rapidly and becoming rubbery before the coating has a chance to crisp up. The 3/4-inch thickness allows the calamari to cook through just enough to be tender, while giving the coating ample time to become beautifully golden and crunchy.
4. The Short Rest Before Frying
Once your calamari rings are coated in the flour mixture, allow them a few brief minutes to sit in a colander before they hit the hot oil. This seemingly small step is surprisingly important: it allows the flour to rehydrate slightly, ensuring that the coating adheres firmly to the squid and doesn't fall off during frying. This naturally happens as you wait for your oil to heat up or as you fry in batches, giving each subsequent batch its necessary resting time.
Frying for Flawless Finish: Tips for Success
With your calamari perfectly prepared and coated, the frying process itself is quick and crucial. Here's how to ensure a perfect, non-greasy result:
* **Oil Temperature is Key:** Heat a neutral oil (like canola, vegetable, or grapeseed) to around 350-375°F (175-190°C). An oil thermometer is your best friend here. If the oil isn't hot enough, the calamari will absorb too much oil and become greasy. If it's too hot, the coating will burn before the squid cooks, leading to a raw interior.
* **Fry in Batches:** Do not overcrowd your pan or deep fryer! Frying too much calamari at once will drop the oil temperature significantly, resulting in soggy, greasy calamari. Fry in small batches, giving each piece plenty of space, and allow the oil to return to temperature between batches.
* **Quick Cooking Time:** Calamari cooks incredibly fast! Each batch will only need about 1-2 minutes to reach a perfect golden brown. Overcooking is the primary cause of rubbery calamari, so keep a close eye on it.
* **Drain and Season Immediately:** Once golden and crispy, remove the calamari with a slotted spoon or spider and transfer it to a wire rack set over a paper towel-lined baking sheet to drain excess oil. Immediately sprinkle with a pinch of sea salt and any other desired seasonings while it's still hot.
Serving Your Homemade Fried Calamari
Your perfectly crispy, tender
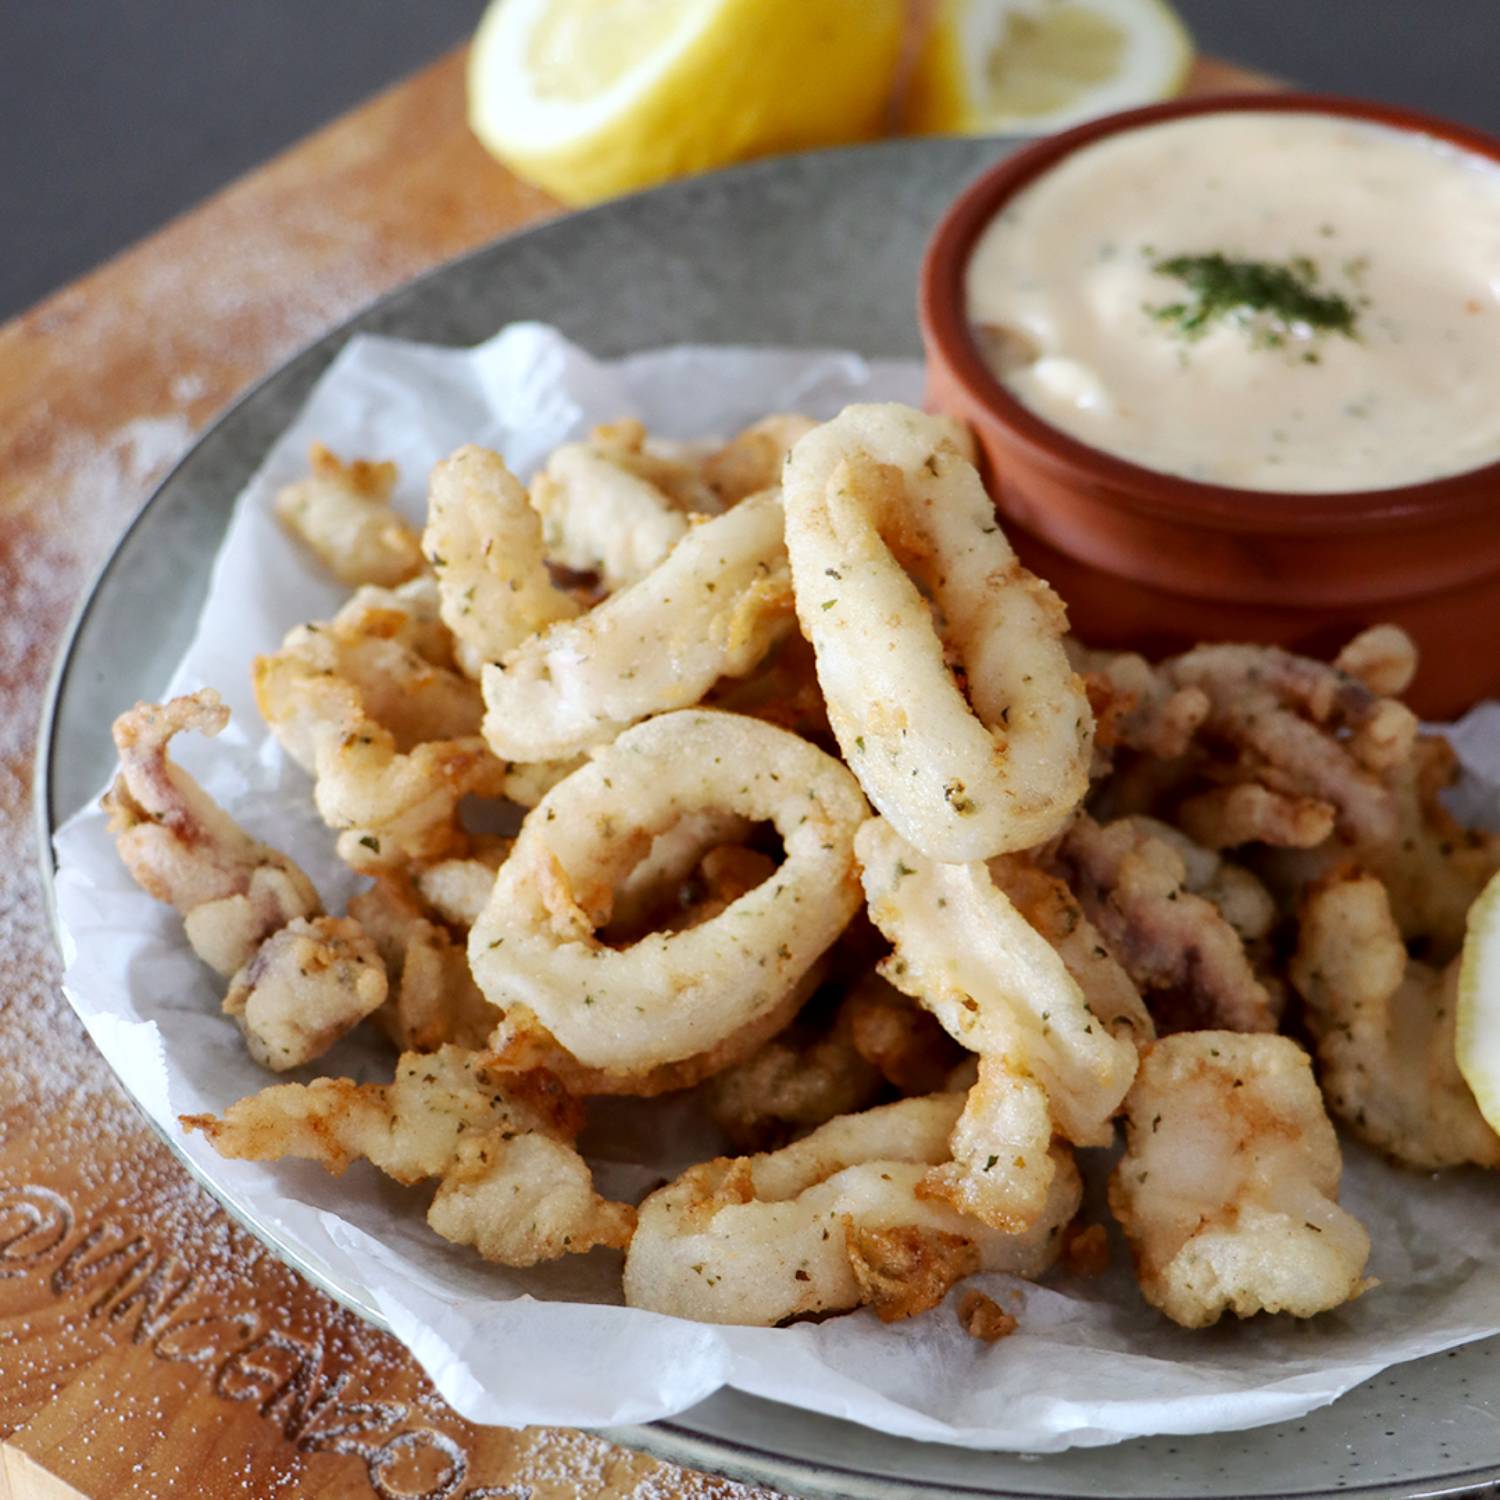
fried calamari recipe is now ready to impress! Serve it hot, straight from the pan, for the best texture and flavor. A squeeze of fresh lemon juice is non-negotiable – its bright acidity cuts through the richness of the fried seafood beautifully.
For dipping, the possibilities are endless:
* **Classic Marinara Sauce:** A timeless favorite.
* **Garlic Aioli:** A rich, creamy, garlicky dip that complements the calamari perfectly.
* **Spicy Mayo:** For those who like a little kick.
* **Tzatziki:** A refreshing Greek yogurt and cucumber dip offers a cool contrast.
Pair your calamari with a refreshing beverage, perhaps a crisp white wine, a light beer, or even a non-alcoholic citrus drink like Spanish Agua de Valencia. It's a fantastic appetizer for any meal, from a casual weeknight dinner to an elegant dinner party.
Conclusion: Your New Go-To Calamari Recipe
You no longer need to travel to the Mediterranean or visit a high-end restaurant to enjoy perfectly crispy, tender fried calamari. With these simple yet powerful tips – from the crucial milk soak to the optimal coating blend and precise frying technique – you can create a sensational appetizer right in your own kitchen in under 30 minutes. This
fried calamari recipe is designed for success, delivering restaurant-quality results that are light, golden, tender, and never greasy. So grab your squid, heat your oil, and prepare to delight your taste buds with this easy, irresistible dish!